Viewfinder Preview
Camera framing app for iPhone
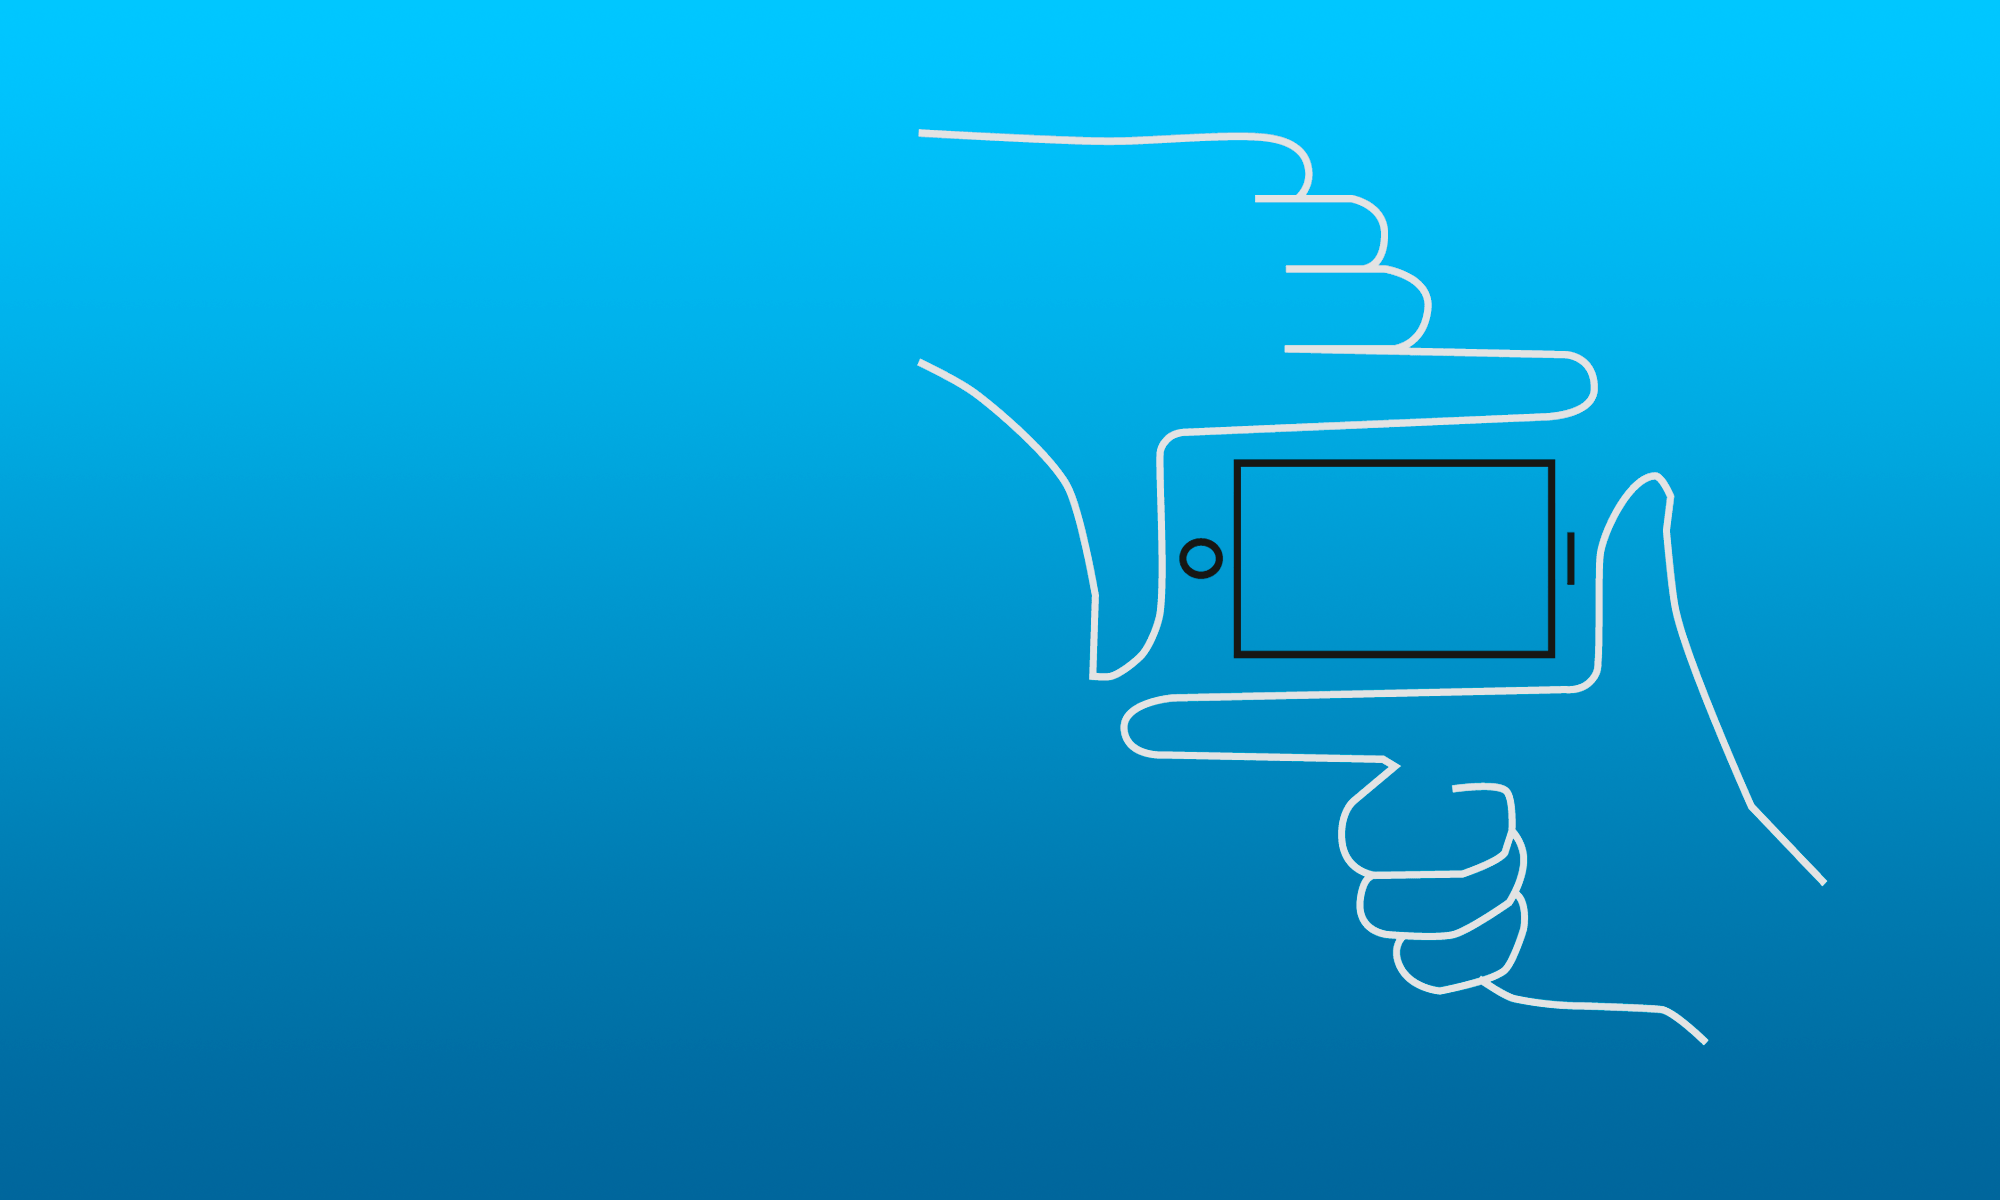
Camera framing app for iPhone
Viewfinder Preview is an iPhone app for previewing camera framing for any combination of camera and lens. Instead of spending all that time setting up your big camera, just choose your desired camera film/sensor size and focal length in the app and point the iPhone camera at what you want to photo to verify framing. If you are happy with the framing then you can get the big camera out. The app has a large database of camera sensors details and film formats but if the camera you desire isn't there you can add your own custom camera. The app is targeted at stills photographers or film makers working in either film or digital. If you don't have your big camera with you, Viewfinder Preview is still great for photo sketching, location scouting or story boarding.
The button in the bottom left corner brings up a menu to select your camera. When the menu is displayed you can select entries by dragging the menu up and down. The button in the bottom right corner brings up a menu to select your focal length. This allows you to make a accurate focal length selection but you can also use a pinch gesture on the screen to increase/decrease the focal length. The button in between the camera and focal length buttons allows you to take a photo and record your framing. In addition to selecting a camera you can also enforce an aspect ratio. Click on the button with the series of rectangles to bring up the menu. This will choose the largest frame of your chosen aspect ratio that can be fitted in the selected camera film/sensor dimensions.
Once you have taken a photo, a preview of it appears in the lower left corner. If you press this it takes you to the Photo Gallery. You can also access the Photo Gallery from the Settings menu. On the Photo Gallery screen you have a view of the current image plus a ribbon of all the images taken with the app. The screen works in a similar manner to the standard iPhone photos app. Drag the ribbon left or right to select photos, swipe the photo left and right to choose neighbouring images and pinch to zoom in to the current image. There are three buttons in the toolbar or navigation bar dependent on phone orientation. The looking glass toggles the display of details about the photo. The bin will delete the current photo. The pencil and paper allows you to add notes to your photos.
The journal is another form of the Photo Gallery. It is designed to streamline the viewing and editing of the data attached to photos. Photos thumbnails are displayed alongside the details of a photo and any notes attached. Notes can be edited directly in the view. Clicking on a photo will show you the photo enlarged. If you swipe left on a journal entry you are given the option to delete it.
With the journal comes the ability to create Albums. These can be used to group together images from one project, trip, storyboard etc. Create an album by pressing "Select" in the Journal, selecting a series of images and then pressing "Add To...". Or on the Album page press the + button on the bottom left hand corner. Creating Albums will also create them in the standard Apple Photos App. If you set an Album to be the active album any image you take will automatically get added to that Album.
The main screen also includes a light meter. Displayed at the top of the screen (along the bottom in landscape mode) are shutter speed, aperture, iso and exposure mode respectively. Click on any of these to bring up a menu to edit them. The exposure mode defines what the light meter calculates. AV means the light meter calculates shutter speed. TV means it calculates the aperture. M is the manual mode where the light meter does no calculation but the scene is exposed with selected settings. If you edit aperture or shutter speed it will then change the exposure mode to AV or TV respectively. If exposure mode is not manual you can select a point on the screen and the light meter will attempt to exposure that point correctly. To remove this you can either select outside the frame of the image preview, or shake the phone.
The settings are accessible from the main screen by clicking on the button in the top right hand corner. There are five sections to the settings: Photo Gallery, Viewfinder, Light Meter, Wide Angle Lens Adapter and a miscellaneous section.
The Viewfinder settings include options for editing the camera, aspect ratio and focal length menus and choosing a film emulation. There are details of these further down. The Rangefinder mode, a different way to preview framing, is enabled from here.
The Light meter settings includes options to define the size of the gap between each menu entry for each exposure value. This can be a full stop, half stop or a third stop. There are also options to display the exposure value for the current exposure (visible inside the take photo button) and a histogram (luminance or RGB) of the current scene. The exposure offset will offset the exposure calculation by a number of stops. This is helpful if you are using ND filters on your camera.
It is possible to get wide angle lens attachments for the iPhone. With one of these Viewfinder Preview can then give you previews for much wider angle lenses. The only problem is your iPhone does not know when one of these is attached so it reports a wrong focal length. There is a section in the Settings to adjust for this. The scale value is there to adjust the focal length for the lens attachment. Most lens attachments will have the information available on how much they scale the focal length by. You can add this value in the Settings. The first time you use it though it would be good to verify the scale value is correct. The accuracy of these numbers is not guaranteed. When the wide angle scaling is enabled the scaling is reported on the main screen.
This has entries to reach this Help page. Resetting Tool tips will show you all the tool tips again. Review on App Store takes you to the App Store to give us a review. Please do that. Hopefully you have found Viewfinder Preview useful and give us a positive review.
The camera, focal length and aspect ratio menus are editable. Click on the button in the top right hand corner of the screen. This brings up the settings page. The first three entries of the second section in the settings take you to the pages for editing the camera, focal length and aspect ratio menus. The cameras section is broken into two sections. The list of cameras in your menu and a list of camera presets. You can drag presets between the two sections. If your desired camera is not in the preset list you can add a new custom camera by pressing the + button in the bottom left hand corner. To remove presets from your menu drag them back into the preset list. To remove custom entries press their red circle with the white line icon. You can edit custom cameras by clicking on them. You can also change the order of the menu by dragging entries about. The focal length and aspect ratio menu editing screens work in a similar manner to the camera screen except there is no preset section. Also in the focal length menu edit screen you can setup up different menus for each camera.
From the Settings you can select your preview to look like a particular film stock. When you select a film emulation it applies a filter to the preview image. Given a source colour, an emulated colour is returned from the filter. The result replicates the colour and tone characteristics of the specified film stock. These emulations are approximations and there is a level of artistic license in generating them. The emulations do not add grain. The filters have been authored by Pat David and are licensed under the Creative Commons Attribution-ShareAlike license.
Disclaimer:
The trademarked names used to define the presets are there for informational purposes only. They serve only to inform the user which film stock the given preset is designed to approximate. As there is no way to convey this information other than by using the trademarked name, we believe this constitutes fair use. Neither the publisher nor the authors are affiliated with or endorsed by the companies that own the trademarks.

The Viewfinder Preview camera is limited by the iPhone physical camera. If you ask for a focal length that is wider than the iPhone camera is capable of then the application isn't capable of showing the full shot. When this happens it scales down what is displayed to indicate the size it would be, plus a red square is displayed to indicate there is an issue.
If you are using a film camera you can measure the size of a negative with a ruler. For more precise negatives measurements many film scanning applications will give you dimensions of scans. If you are using a digital camera the sensor size is the dimensions you are looking for. In general sensor sizes are published on the internet and should be available on camera vendor web sites. Standard sensor sizes are included in the camera presets.
The camera framing is accurate for lenses focused at infinity. A lens that is focussed closer changes focal length slightly. Unfortunately it is not possible to correct for this within the application.
The iPhone camera has a fixed aperture so it is not possible to replicate the depth of field changes you get from changing camera aperture. Changing the aperture only affects the light meter calculations.
Rangefinder mode displays the framing preview in a different form. Instead of zooming the camera it draws a box overlay over the camera preview to indicate the area the camera and focal length would frame. In a similar way a rangefinder camera has a finder with a fixed focal length and frame lines to indicate what your shot will be.
The Exposure Value (EV) is a standard for representing a combination of both the camera shutter speed and aperture with a single value. Different combinations of aperture and shutter speed with the same exposure have the same Exposure Value. Increasing the exposure value by one is equivalent to an increase of one stop, similarly decreasing it by one is equivalent to a decrease of one stop. You can find out more here.
The following is a list of all the camera presets included in the app.
Film Presets
35mm, 645, 6x6cm, 6x7cm, 6x9cm, 6x12cm, 6x17cm, 4x5", 5x7", 8x10"
Digital Presets
Micro Four Thirds - Olympus OM-D/Pen, Panasonic G
APS-C (1.5x) - Crop sensor Nikon, Fuji and Sony cameras
APS-C (1.6x) - Crop sensor Canon cameras
Full frame
Digital 645 - Hasselblad x1D/H-50, Fuji GFX 50S, Pentax 645Z
Cinema Digital Presets
Blackmagic URSA Mini 4K/4.6K
Canon C100/C300/C500/C700/C700 FF
Red Scarlet-W, Red Helium, Red Dragon, Red Gemini, Red Monstro
Sony F, Sony FS7, Sony Venice.
Cinema Film Presets
16mm, Super 16mm, Academy 35mm, Super 35, Anamorphic 35, 65mm, IMAX
The colour film filters available are
Agfa Precisa 100
Agfa Vista 200
Fujifilm Pro 160C
Fujifilm Pro 400H
Fujifilm Provia 100F
Fujifilm Superia 400
Fujifilm Velvia 50
Kodak Ektachrome 100 VS
Kodak Ektar 100
Kodak Portra 160
Kodak Portra 400
Kodak Portra 800.
The black and white film filters available are
Generic B&W
Fujifilm Neopan Acros 100
Ilford Delta 100
Ilford Delta 400
Ilford Delta 3200
Ilford FP4 Plus 125
Ilford HP5 Plus 400
Ilford Pan F Plus 50
Ilford XP2
Kodak T-Max 100
Kodak T-Max 400
Kodak T-Max 3200
Kodak Tri-X 400
Rollei IR 400
Rollei Retro 80s.